
Flexible framing of large prints
Fortunately, my large format printshop can mount large prints straight onto gatorfoam (a very stiff foamcore) - along with an attached plastic cover sheet. This is easy to stack and store, allowing you to have many prints destined for a single frame. The following lays out how the frame is put together. Note you can click on any image to see a version with more detail.
The frame ends up as a simple stack (see "explosion" image):

- Frame
- Glass
- Matte
- Foamcore picture locator, the same size as the outer dimension of the glass and matte, with a cutout to fit the picture
- The gatorfoam-mounted image
- Foamcore backing sheet
- Stabilising struts
Stabilising struts
The stabilising struts are the key to whether this is an "easy swap" frame or not. I use 20mm "U" section aluminium as the strut, connected to the frame with an adjustable aluminium tube fixing mechanism.
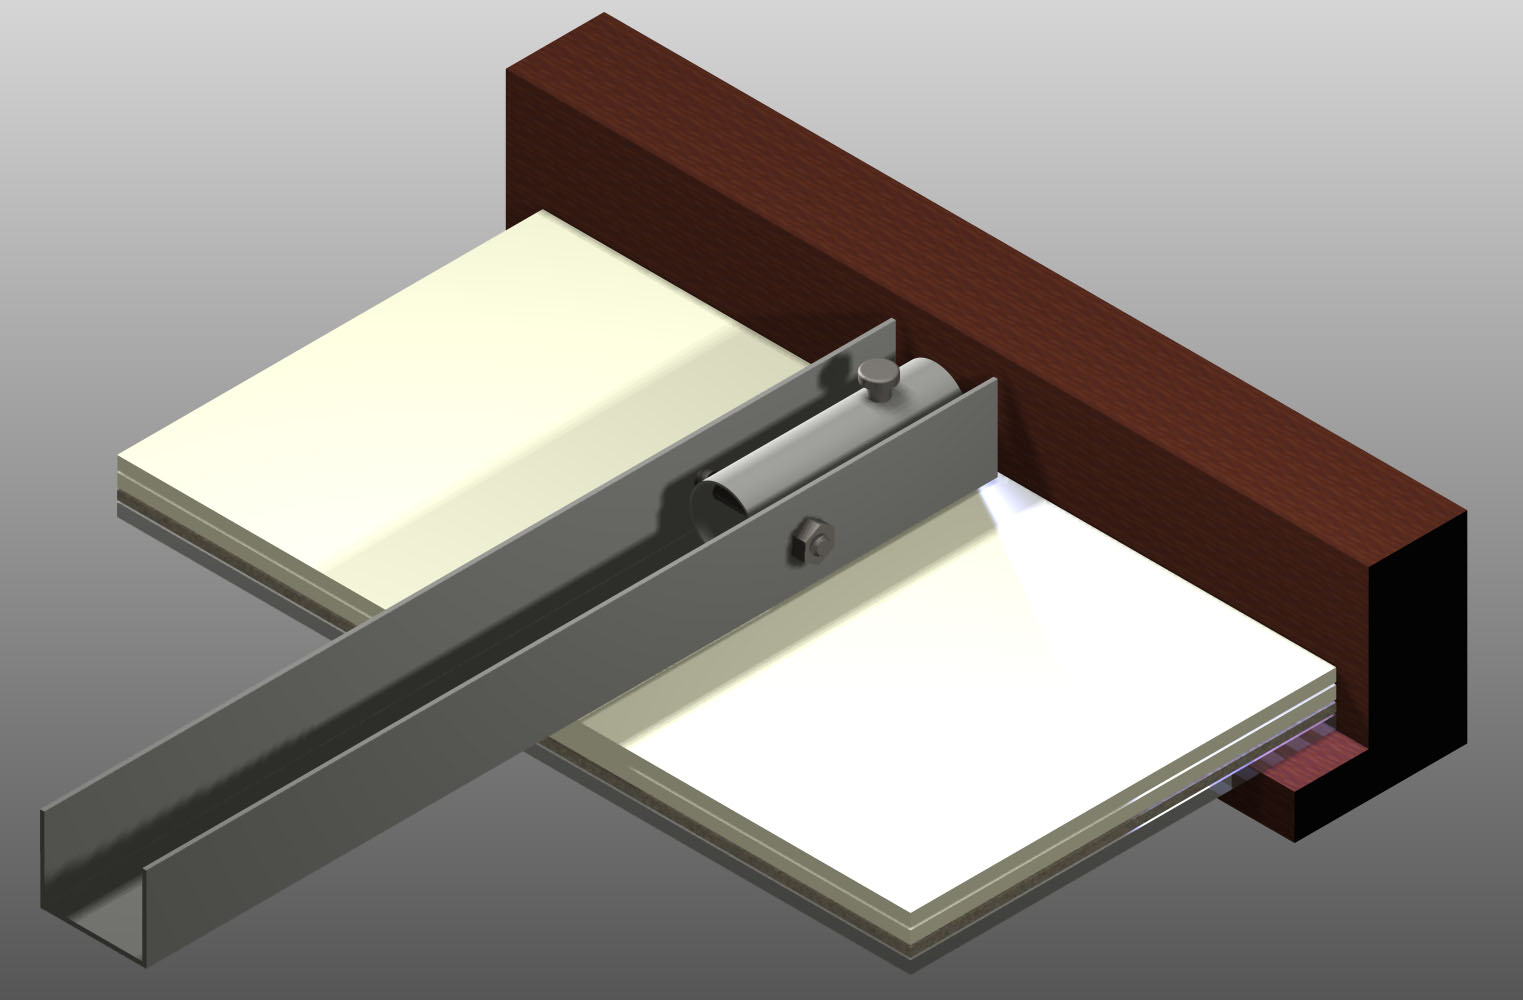
The tube is fastened within the strut, pivoting on a small bolt. A second bolt oriented normal to the backplane is secured in the tube with its nut in the middle of the tube.
The end of the tube sits over another screw, that is secured in the side of the frame.
 The next image shows a little more detail with the aluminium made transparent so you can see the location of the screws and bolts.
Inserting the strut is easy; with the U of the strut lying on its side on the back of the frame, the tubes will flow around making it easy to slide them onto the head of the screws in the side of the frame. You then rotate the strut so the U of the strut is as shown in these images. Tightening the vertical adjustment screw gently will stiffen the strut against the frame, securing the whole image package.

Last but not least, it is important to use some mounting wire to tension the sides of the frame laterally. With large frames, it is easy for the frame itself to warp enough to endanger the security of the mount glass -particularly while transporting or otherwise moving the frame.
Flexible, cost effective result
The end product is incredibly cost effective, both in terms of frame costs and in picture storage. Based on my experience with other "swap out frames" I expect the frames made using this technique to last my lifetime. My current frame takes a 30" (76cm) print. I get the printer to mount it to 80cm, providing the standard dimension for the frame inset. I will also be putting together a 30"x40" version. The same technique could be used for even larger prints and frames. However, I am sticking to these dimensions both because of wall space limitations, and because moving to even larger print sizes would require specialised glass, matte mount and backing foamcore sizes which are not easily available to the DIY framer...
No comments:
Post a Comment